
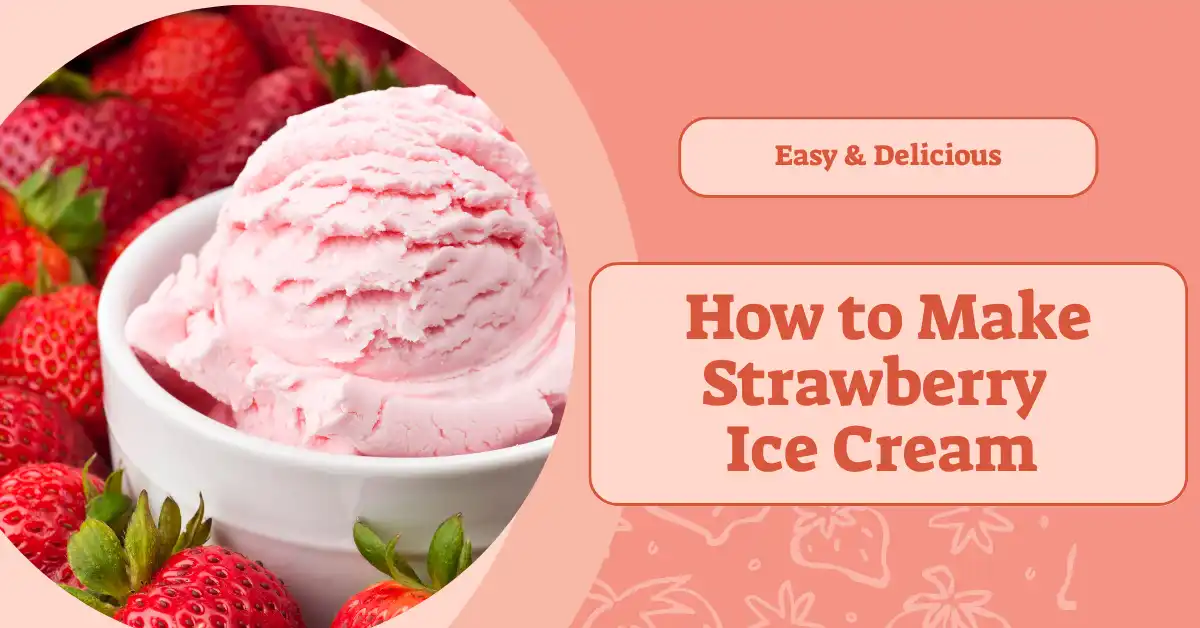
Nothing says summer like a scoop of homemade strawberry ice cream—creamy, fruity, and bursting with real berry flavor. I still remember the first time I made it from scratch; the scent of fresh strawberries blending in the kitchen felt like childhood wrapped in a bowl. Unlike store-bought options, this version is rich, easy, and doesn’t need an ice cream maker. In today’s post, I’ll walk you through how to whip it up with just a few ingredients. Ready to bring a little homemade happiness to your freezer? Let’s get started!

Why You’ll Love This Strawberry Ice Cream
If you’ve ever tasted a strawberry and thought, “I wish this could last forever,” this ice cream is the answer. It’s made with real strawberries, not flavoring or syrup—so every bite feels like summer in your mouth. That’s one of the best things about homemade ice cream: you know exactly what’s going in, and you can actually taste the freshness.
And here’s the magic part—you don’t even need an ice cream maker. I used to think homemade ice cream required fancy tools and a ton of work. But this recipe flips that idea. Just blend, whip, mix, freeze—and that’s it. The texture is so creamy and smooth, you’d think it came straight from a dessert shop.
Kids love it, adults sneak extra scoops when no one’s watching (guilty!), and it’s one of those desserts that makes everyone happy. Plus, it’s so easy to make it your own. Want a crunch? Toss in some chocolate chips or crushed cookies. Feeling fancy? Add a swirl of strawberry jam or top it with chopped nuts. It’s endlessly customizable.
Ingredients You’ll Need
The beauty of homemade strawberry ice cream is that it doesn’t take much to make something truly delicious. With just a handful of ingredients, you get a creamy, fruity dessert that’s bursting with real flavor. You’ll need:
- 400g fresh strawberries – for the puree
- 150g fresh strawberries (chopped) – for texture and extra fruity bursts
- 500ml cold whipping cream – creates that smooth, creamy texture
- ¾ cup condensed milk – adds natural sweetness and a scoopable consistency
- 1 tsp strawberry essence (optional) – enhances the strawberry flavor
- A pinch of pink food color (optional) – adds a pretty pink hue if desired
When choosing strawberries, go for the ripe, sweet-smelling ones—those are packed with natural flavor. The whipping cream should be cold before beating to help it fluff up properly. And if you prefer keeping it all-natural, feel free to skip the essence and food color. The strawberry puree alone gives it a beautiful blush and a rich taste that doesn’t need anything extra.
Homemade strawberry ice cream really is that simple—fresh, flavorful, and made just the way you like it.

How to Make It (Step-by-Step Summary)
Making homemade strawberry ice cream is way easier than you might think—no machine, no fuss. Just a little prep, a bit of mixing, and your freezer does the rest. If you’re a first-timer, trust me, this is one of those recipes that makes you feel like a pro without breaking a sweat.
Step 1: Make the Strawberry Puree
Start by removing the green tops from 400g of strawberries. Toss them in a blender and blend until smooth. This puree becomes the base of that vibrant flavor.
Blending fresh strawberries into a smooth puree gives your ice cream a bold, fruity flavor.
Step 2: Whip the Cream
In a large bowl, pour in 500ml of cold whipping cream. Beat it until stiff peaks form—it should look thick and hold its shape. This is what gives the ice cream its light, airy texture.
Whipping cream until stiff peaks form ensures a creamy, scoopable texture without using an ice cream maker.
Step 3: Add the Sweetness
Pour in ¾ cup of condensed milk and add 1 tsp of strawberry essence if using. Beat until everything’s well mixed. The condensed milk gives it a silky sweetness that perfectly balances the tang of the berries.
Condensed milk adds natural sweetness and keeps the ice cream soft and scoopable.
Step 4: Bring in the Berries
Now, mix in the strawberry puree and beat just until combined. If you want that pretty pink pop, add a pinch of food color at this stage. Then gently fold in 150g of chopped strawberries using a spatula.
Adding chopped strawberries gives your ice cream texture and bursts of juicy fruit in every bite.
Step 5: Freeze It
Spoon the mixture into an airtight container. Tap it lightly to remove air bubbles, cover the top with cling film, then seal it with a lid. Place it in the freezer overnight.
Freezing overnight allows the flavors to set and creates that classic, creamy ice cream consistency.
Tips for Best Results
If you want your homemade strawberry ice cream to turn out perfectly every time, these little tips make a big difference. I’ve learned some of these the hard way, and now I swear by them!
Use ripe, sweet strawberries
This might sound obvious, but it’s everything. Ripe strawberries are naturally sweeter and more flavorful, which means you won’t need extra sugar or flavoring. When strawberries are in season, their color is deeper, their aroma is richer, and they give the ice cream a naturally bold berry flavor.
Using ripe, sweet strawberries enhances the flavor and reduces the need for added sugar or essence.
Chill the whipping cream before beating
This is a simple trick that many people overlook. Cold cream whips faster and holds its shape better. I always pop the bowl and beaters in the fridge for 10 minutes before I start—it makes a huge difference in texture.
Chilling the whipping cream ensures it whips up faster and gives your ice cream a light, fluffy texture.
Skip the food coloring for a natural look
If you love the rustic, homemade look (and I definitely do), feel free to leave out the food coloring. The strawberry puree gives a natural blush that’s subtle and beautiful. It’s also a great option if you’re making this for kids or anyone avoiding artificial colors.
For a natural color and cleaner ingredient list, you can skip the food coloring—strawberries alone give a soft pink hue.
These tips may seem small, but together they create a smoother, tastier, and more rewarding ice cream experience. Once you get the hang of it, you’ll want to make this again and again—trust me!
Serving Ideas
- Serve in crunchy cones: Whether sugar or waffle, cones add a classic, fun touch to your strawberry ice cream. Perfect for summer parties and kids’ smiles.
Ice cream cones make every scoop more festive and enjoyable. - Dress it up in cups: Add melted chocolate drizzle, fresh fruit, chopped nuts, or colorful sprinkles. I love topping mine with dark chocolate chips and a few mint leaves for a fancy finish.
Toppings let you customize your strawberry ice cream for endless flavor combos. - Pair with breakfast treats: Scoop your ice cream alongside warm waffles, pancakes, or pound cake for a delightful dessert twist.
Strawberry ice cream pairs perfectly with waffles and pancakes to elevate your breakfast or dessert. - Make a milkshake: Blend the ice cream with a splash of milk for a quick, creamy strawberry shake that’s pure nostalgia in a glass.
Using strawberry ice cream in milkshakes creates a delicious, easy treat. - Get creative: Mix and match toppings and serving styles to find your perfect combo. Homemade means freedom!
Homemade ice cream lets you experiment with flavors and textures every time.
Table of Contents
Final Thoughts
Making homemade strawberry ice cream is more than just a recipe—it’s a little act of joy you can create in your own kitchen. Once you taste that fresh, creamy scoop, you’ll understand why so many of us fall in love with making ice cream from scratch. It’s simple, rewarding, and perfect for any summer day or special occasion.
Trying this recipe means you get to enjoy real strawberries in every bite, with the freedom to add your own twist. Whether you keep it classic or get adventurous with toppings, homemade ice cream always feels like a treat made with love.
I’d love to hear how your strawberry ice cream turns out! Share your favorite add-ins, creative serving ideas, or any questions you have. Cooking and experimenting together makes the whole experience even sweeter.
Homemade strawberry ice cream isn’t just dessert—it’s a memory in the making. So go ahead, scoop yourself a bowl of summer happiness, and enjoy every spoonful.