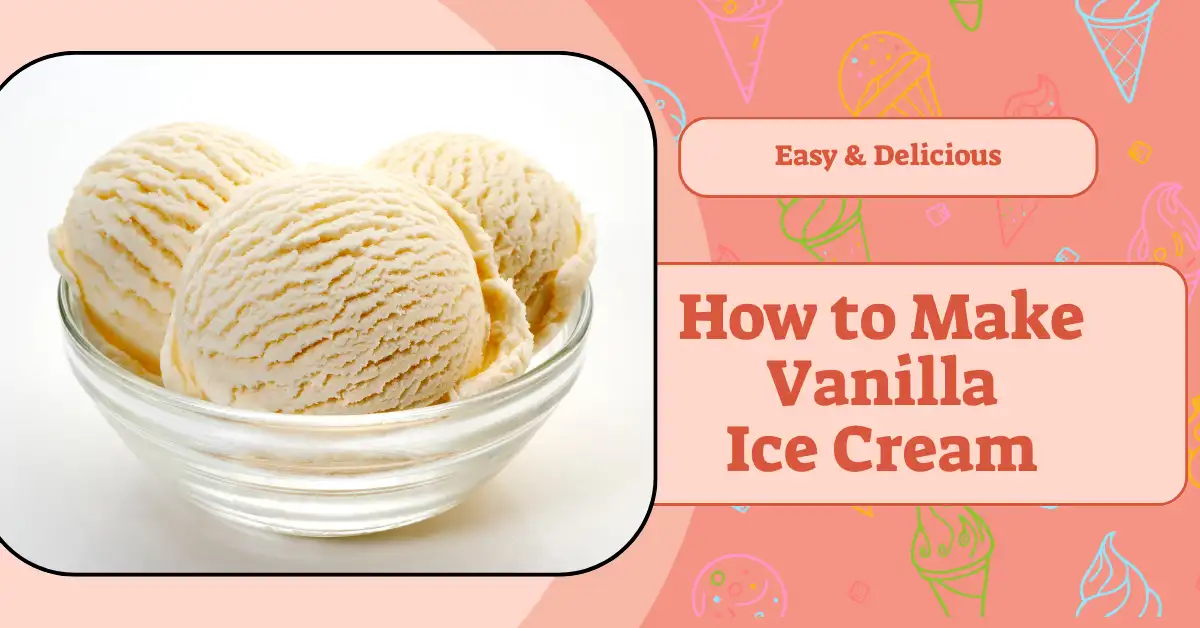
There’s nothing quite like a scoop of homemade vanilla ice cream—it’s creamy, comforting, and takes you back to carefree childhood summers. I still remember the first time I made vanilla ice cream at home on a scorching hot weekend; it turned into a sweet little tradition I now look forward to every year. This simple vanilla ice cream recipe has become my go-to because it doesn’t need any fancy machine—just basic ingredients and a bit of love. In this post, I’ll show you exactly how to make vanilla ice cream at home with easy steps anyone can follow. Ready to cool down with something sweet? Let’s get started!
Table of Contents
Ingredients You’ll Need
You only need five simple ingredients to make vanilla ice cream at home—and honestly, that’s part of what makes this recipe so comforting. No mystery ingredients, no preservatives—just the good stuff. Here’s what you’ll need:
- Milk:
Milk forms the smooth base of the ice cream and helps balance the richness of the cream. I usually go for full-fat milk because it creates a creamier texture that scoops beautifully, but you can use whatever you have on hand. - Cream:
This is where all the richness comes from. Cream adds that soft, velvety texture we all love in a good scoop of ice cream. Without it, the texture can feel more icy than creamy, so it really makes a difference. - Vanilla essence:
A small splash of vanilla essence brings everything to life. It adds that classic sweet, fragrant flavor that makes vanilla ice cream so irresistible. If you want a deeper, more intense taste, pure vanilla extract or vanilla bean paste is even better. - Egg yolks:
Egg yolks help give the ice cream its custard-like texture and make it naturally thick and rich. They act as a natural emulsifier, which means the fat and water mix together smoothly—no ice crystals, just a creamy finish. - Caster sugar:
Caster sugar is finer than regular sugar, so it dissolves easily into the mixture. It gives the ice cream a clean, even sweetness without any grainy texture. It’s subtle but essential for that perfectly balanced flavor.
Step-by-Step Instructions (With Tips)
Making vanilla ice cream at home might sound fancy, but it’s actually super doable—even if you’re not a pro in the kitchen. Just take it one step at a time, and I’ll walk you through the process the way I do it myself.
Step 1: Heat the milk and cream
In a medium saucepan, add 400 ml of milk and 400 ml of cream. Stir in ½ teaspoon of vanilla essence. Gently heat the mixture on medium heat while stirring continuously. After 4–5 minutes, it should start to simmer. You don’t want it to boil—just warm it enough to blend everything together.
Heating the milk mixture slowly helps avoid scorching and keeps the texture silky.
Step 2: Let it cool slightly
Once it’s warm and well-mixed, take the pot off the heat. Let it sit for a few minutes so it cools down a bit. I usually whisk it gently during this time to help it come closer to room temperature.
Cooling the base slightly before adding eggs prevents curdling and keeps the custard smooth.
Step 3: Whisk the egg yolks and sugar
In a separate bowl, whisk together 4 egg yolks and ½ cup of caster sugar. Beat them well until the mixture turns pale and creamy—this takes about 2 to 3 minutes.
This step is key for creating a rich, custardy texture and gives the ice cream its golden color.
Step 4: Combine the mixtures slowly
Now comes the important part: tempering the eggs. Slowly pour the slightly cooled milk mixture into the egg yolks while whisking constantly. This prevents the eggs from scrambling. Once fully combined, strain the mixture through a sieve to catch any small lumps.
Slowly mixing warm milk into eggs keeps the custard smooth and creamy.
Step 5: Cook the custard
Pour the strained mixture back into the saucepan and place it over low heat. Stir it gently with a wooden spoon or spatula until the mixture thickens slightly—about 6–8 minutes. It should coat the back of the spoon but not boil.
If it starts to bubble, reduce the heat. Boiling can ruin the texture and cause curdling.
Step 6: Cool completely
Once it thickens, remove the custard from heat and let it cool fully. I usually transfer it to a bowl and cover it with plastic wrap to avoid a skin forming. Leave it at room temperature for a bit, then refrigerate if needed.
Cooling the base completely ensures a smoother, creamier freeze later on.
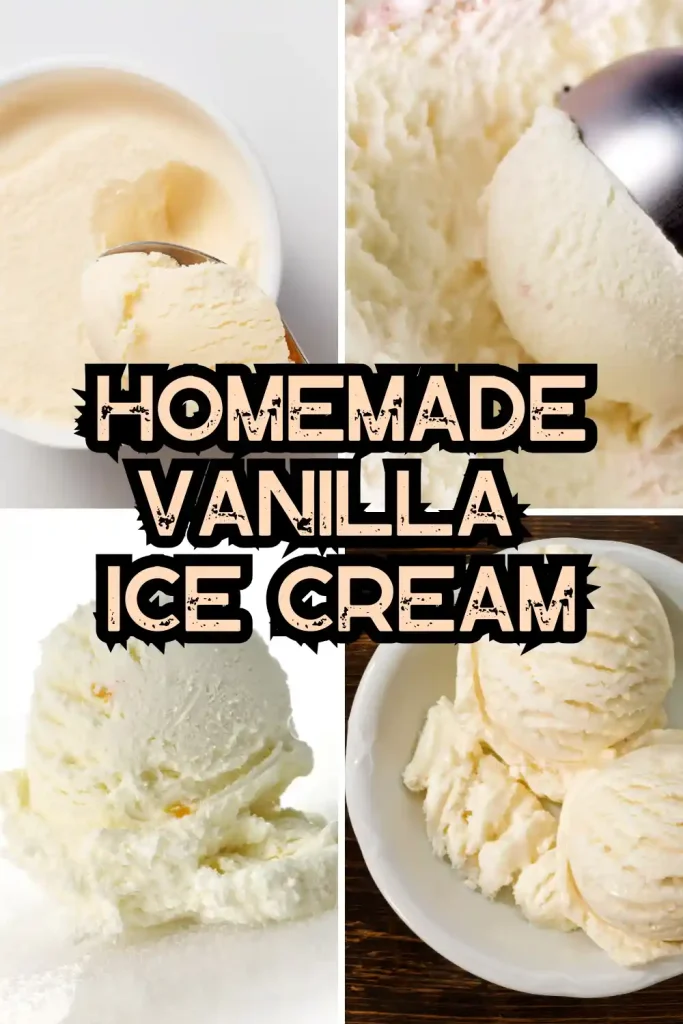
Step 7: Freeze and beat
Pour the cooled custard into an airtight container and freeze for 4 hours. Then take it out and beat it using a hand mixer or whisk for about 2 minutes. This breaks up any ice crystals and makes the texture creamier.
I usually do this beating step twice—it really helps mimic that churned ice cream texture.
Step 8: Final freeze
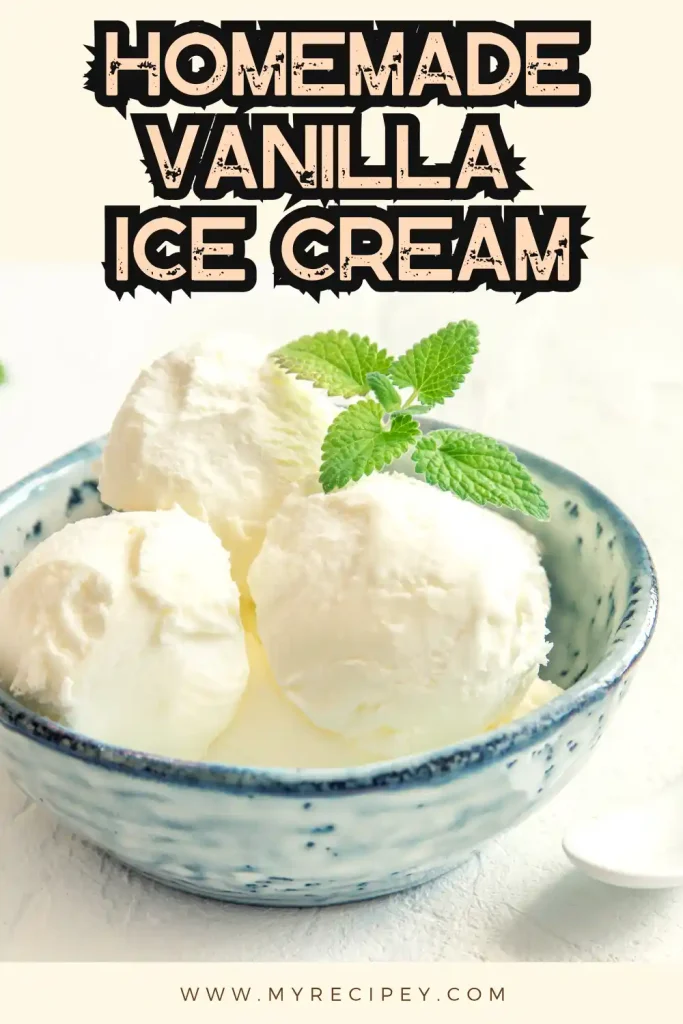
After beating, cover the mixture again and freeze for another 4 hours—or overnight for best results. By now, your ice cream should be firm, scoopable, and full of homemade goodness.
Storage and Serving Suggestions
- Store it right:
Transfer the ice cream to an airtight container. Press a piece of parchment paper or cling film directly onto the surface to prevent ice crystals from forming.
This keeps your vanilla ice cream smooth and fresh. - How long it lasts:
Homemade ice cream is best eaten within 1 to 2 weeks. After that, the texture may get icy and the flavor can fade a little.
For the best taste and texture, enjoy it within two weeks. - Quick softening tip:
If it’s too hard straight out of the freezer, let it sit at room temperature for 5 minutes. It’ll soften just enough for easy scooping.
Letting it rest makes for perfect scoops every time. - Serving ideas:
- Scoop it over warm brownies
- Top with fresh berries and honey
- Serve in waffle cones for a nostalgic treat
- Try it as an affogato with hot espresso poured on top
These pairings take simple vanilla ice cream to the next level.
- Scoop it over warm brownies
Final Thoughts: Why This Recipe Works
- Simple but powerful:
This recipe proves that you don’t need a fancy ice cream maker or hard-to-find ingredients to make something amazing. Just five everyday items come together to create a rich, creamy dessert that rivals anything from the store.
Making vanilla ice cream at home is simple, affordable, and incredibly satisfying. - Balanced and creamy texture:
Thanks to the custard base with egg yolks and cream, the texture turns out silky and smooth every time. Beating the mixture during freezing adds that soft-serve magic without the churn.
The custard base and double beating method help achieve a professional-style creaminess. - Customizable to your taste:
This vanilla ice cream is a blank canvas. Add chocolate chips, swirl in some caramel, or toss in crushed cookies—whatever your heart (or cravings) desire.
Homemade vanilla ice cream is perfect for experimenting with fun flavors and mix-ins. - A rewarding experience:
There’s something special about making your own ice cream from scratch. It’s not just dessert—it’s a little labor of love. And once you taste that first creamy spoonful, you’ll know it was worth every step.
Homemade ice cream feels more personal and tastes better because you made it. - Ready to try it yourself?
If you’ve never made ice cream before, this easy vanilla version is the perfect place to start. It’s beginner-friendly, delicious, and sure to win hearts—one scoop at a time.